Try Atlas
Start from the USB stick, get past the boot menu and Secure Boot, and try Atlas without installing anything.
Start from the stick
Plug in the stick, restart, and open the firmware's boot menu (the BIOS or UEFI) to choose the stick. The key depends on the maker; the most common:
| Key | Often on |
|---|---|
| F12 | Dell, Lenovo, Acer |
| Esc then F9 | HP |
| F8 or Esc | ASUS |
| F11, F10, F9 | other makes |
Press the key several times as soon as you turn the computer on. If you are not sure, search for your model's name followed by "boot menu".
From Windows you can also use the Recovery page of its Settings: Settings > System > Recovery > Advanced startup > Restart now in Windows, Settings > Update & Security > Recovery > Advanced startup > Restart now in Windows 10. Then choose Use a device.
In the menu the stick may show up twice (once in UEFI mode, once in legacy mode). On a recent PC, choose the UEFI entry. In a virtual machine it starts by itself from the DVD drive.
Secure Boot
Secure Boot: not yet checked on a real PC
Atlas uses Debian's signed boot loader, and installing with Secure Boot on has been checked in virtual machines. We have not yet tried the stick on real firmware with Secure Boot. If the stick does not start, that is the first thing to look at; tell us. Be careful: on a PC whose Windows is encrypted with BitLocker, turning Secure Boot off can make Windows ask for its recovery key. Have it at hand.
The screen stays black or garbled
Restart and, in the stick's menu, choose Atlas (safe graphics): it starts without the graphics driver, for machines whose driver misbehaves.
Atlas Setup, the first page
Atlas starts straight into Atlas Setup, full screen. It first asks for your language (Arabic, French or English), then the keyboard and the time zone, which it guesses from the language and which you can change.
At the top right are the settings you may need before installing: language, keyboard layout, Wi-Fi, the display (resolution and scale), accessibility (including the on-screen keyboard) and power (restart, shut down).
Then comes the question What would you like to do?
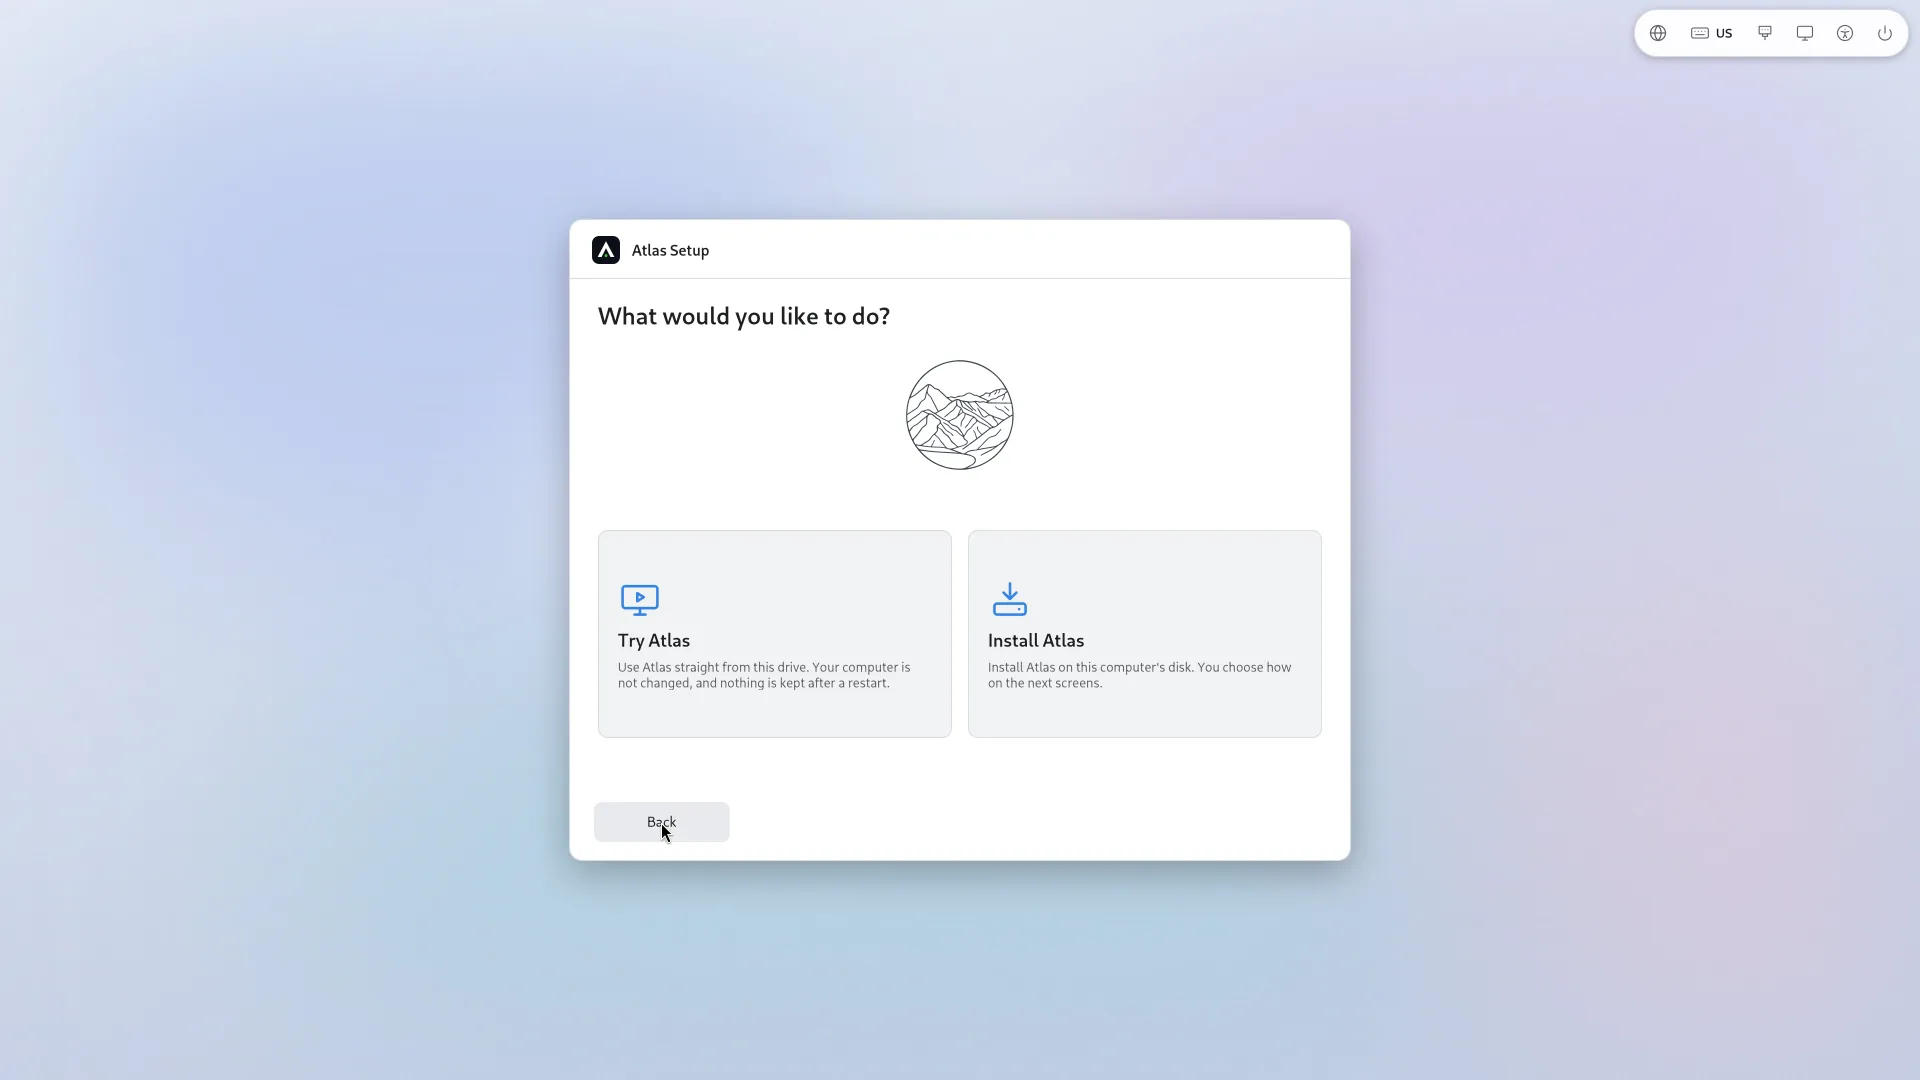
- Try Atlas: use Atlas straight from the stick. The computer is not changed, and nothing is kept after a restart.
- Install Atlas: see the whole disk, next to Windows or free space.
Trying, with no password
Choose Try Atlas: the desktop opens in a few seconds, with the language and keyboard you chose. No password is asked. Look around: Start, Explorer, Settings, Software, Terminal...
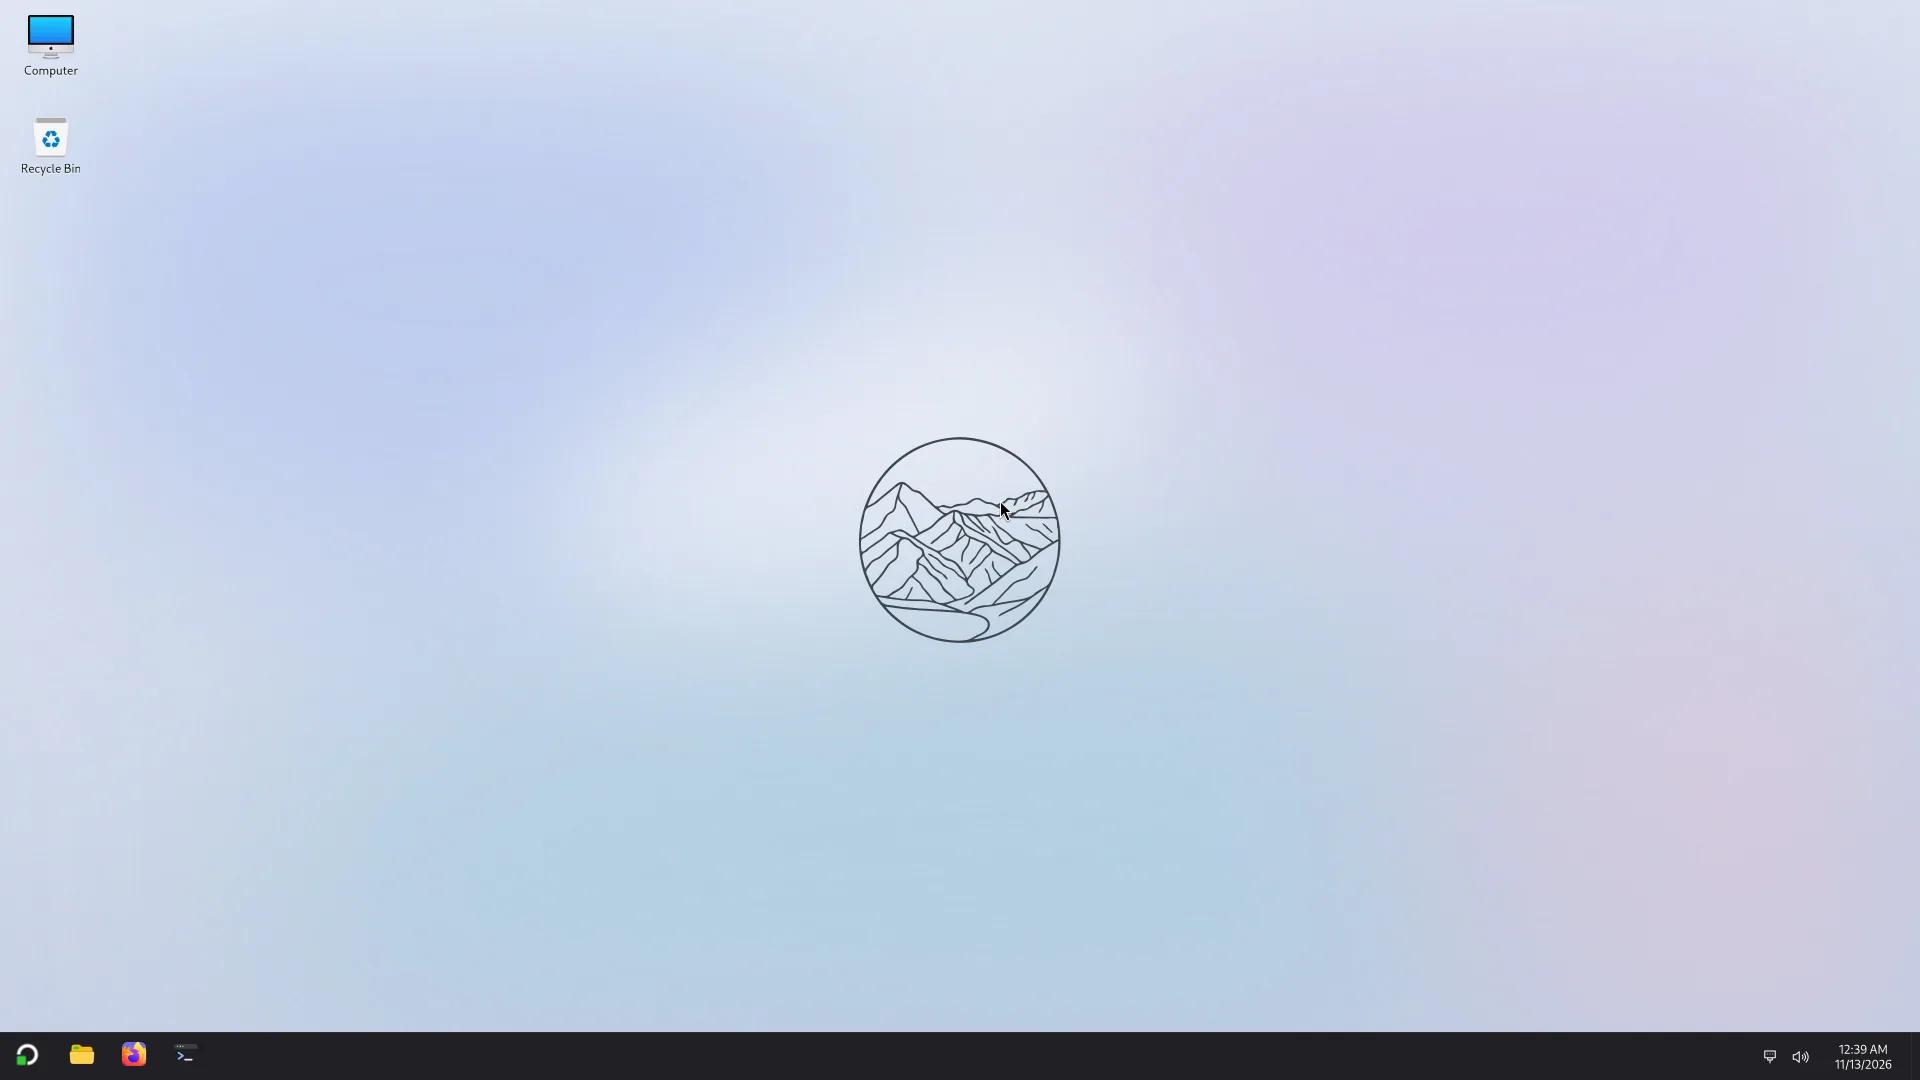
On the desktop, the Install Atlas icon opens Atlas Setup again in a window, if you decide to install.
Nothing is written to the computer's disk during the trial, and the files you create disappear at restart. To keep something, copy it to another stick.
To finish: shut down or restart from the power menu, and take out the stick.