Install into free space
Install Atlas into unallocated space next to Windows, with Choose partitions.
Back up first
This method does not shrink Windows, but it works on the partition table of a disk that holds your files. Back up what you want to keep, and do this first on a spare PC or in a virtual machine. On the partitions page, delete and format only what you are sure you want to lose.
When to use it
When the disk already has unallocated space next to Windows: you freed it yourself, or the maker left it. Atlas needs at least 16 GB of it.
You can also free that space in Windows before installing Atlas: Disk Management (right-click the Start button), right-click C:, Shrink Volume..., then leave the space unallocated (do not create a new volume in it). That takes longer than letting Setup shrink Windows (Next to Windows), but you stay in control.
Why not the "alongside Windows" card?
The Install Atlas alongside Windows card only counts the room Setup would get by shrinking C:. When there is already plenty of free space next to it, the card is greyed and says so: There is X of free space next to Windows: use "Choose partitions" to install Atlas there.
Step by step
Start from the stick (Try Atlas), choose Install Atlas, then the disk.
Choose partitions
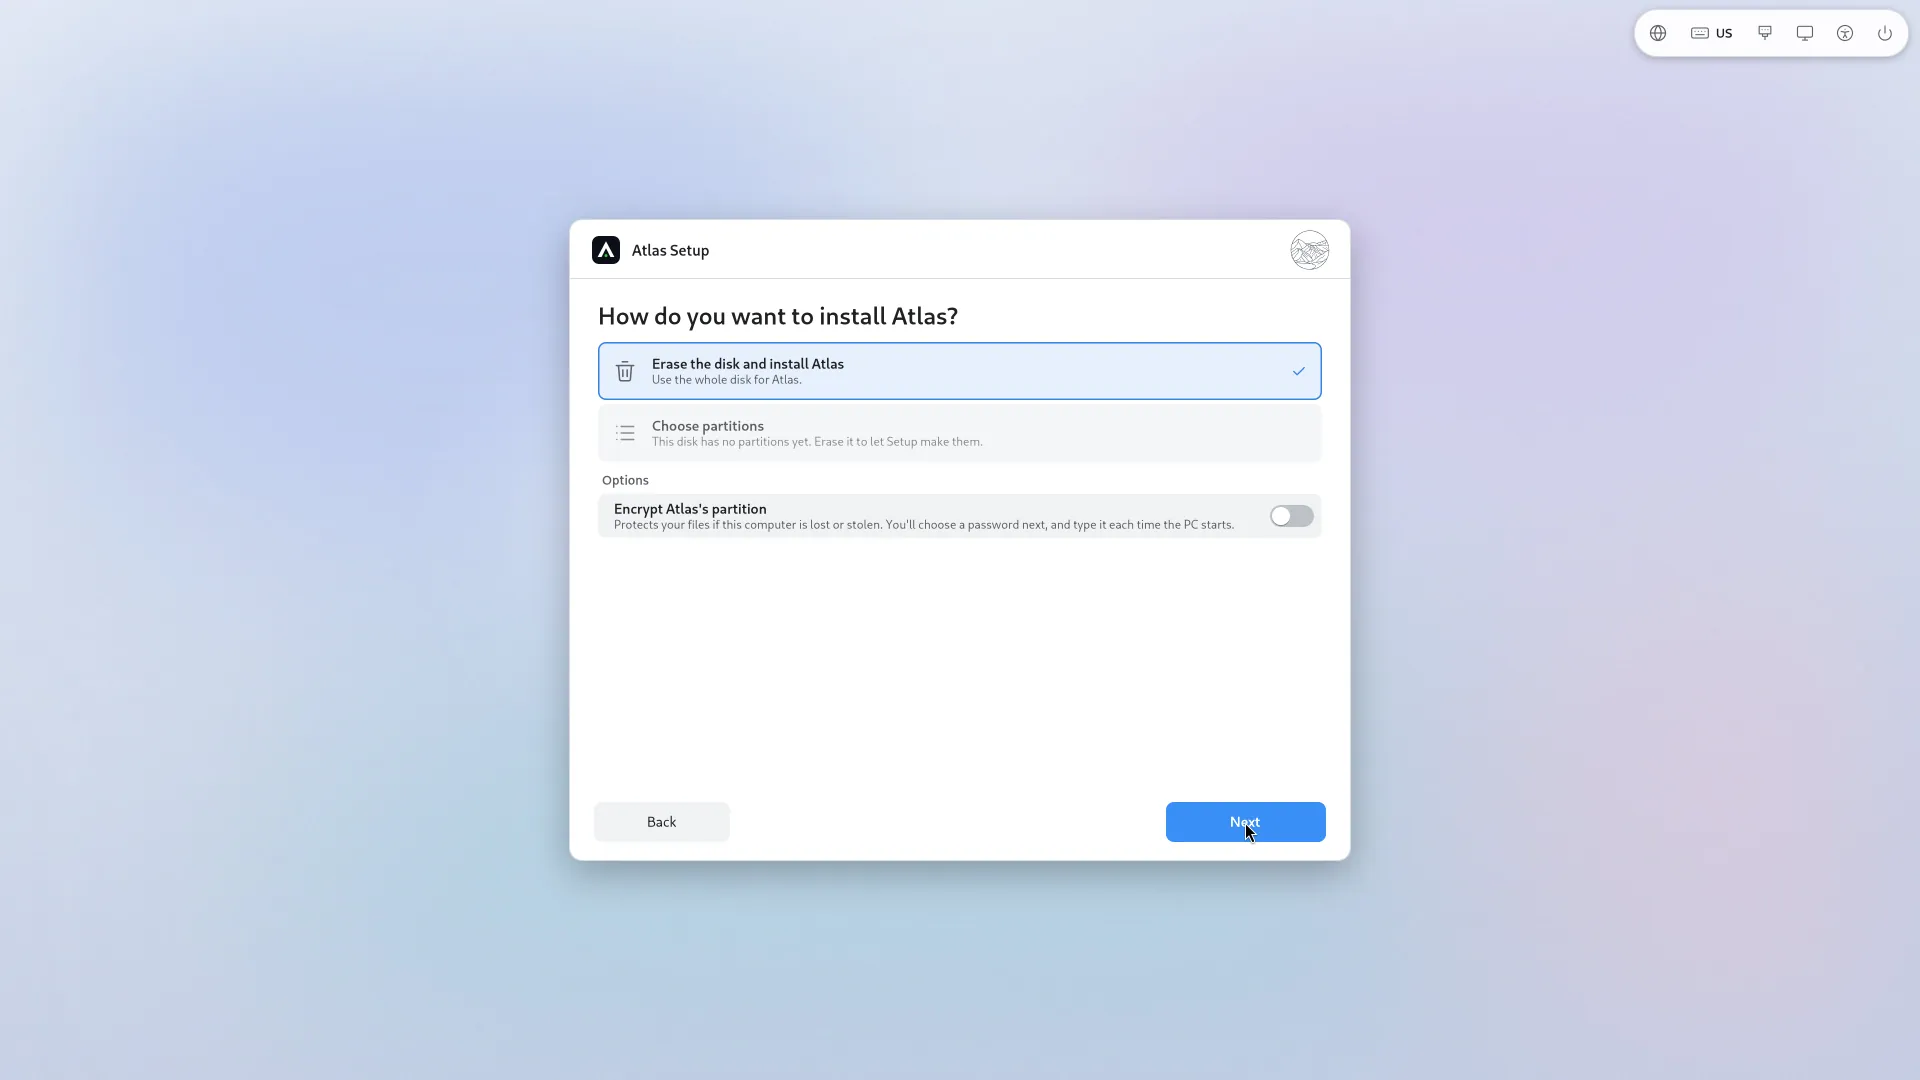
On the page How do you want to install Atlas?, choose Choose partitions: "Delete, make, format and shrink partitions yourself, the way Windows Setup's custom install does."
Select the free space
The disk's partitions are rows (size, and what is on them in words), with a to-scale bar above. Select the Free space row.
The buttons: Delete..., New..., Format..., Make smaller... and Install here. Press Install here: "Atlas will be installed here." The partition is formatted as ext4 when Atlas is installed on it. A Windows partition cannot be deleted while its main partition C: is there: Setup prevents it and explains why.
Nothing is written yet
Unlike Windows' installer, pressing a button does not change the disk. The changes make up a list, which Ready to install shows in full ("Kept: ...", "New: ...", "Deleted: ..."), and they are applied only after you confirm: Apply these changes and install Atlas? If you do not like the list, go back.
The rest
The account, the apps and the settings are the same as for the whole disk. You can also encrypt Atlas's partition.
Windows, its partitions and the existing EFI partition stay in place: the EFI partition is reused, never formatted.
Once the installation starts, it can't be cancelled. Do not turn off the computer or take out the USB stick.
If the free space is too small, or there is none
You need to free some room: with Windows (above), or by letting Setup shrink Windows. Setup refuses a partition under 16 GB for Atlas: Atlas needs at least X.
More advanced disk operations (mount points, a separate /home partition, new partition tables) are not available yet in this version: the Advanced options button is greyed. See Known issues.